100x236 - 2 Doors + 4 Drawer Fronts - Shaker - Painted (2Pac Poly) - PAX - (To Fit 100cm PAX Frame)
-
Regular price
-
$1,500.00 AUD
-
Sale price
-
$1,500.00 AUD
-
Regular price
-
- Unit price
-
/
per
Tax included.
Shipping calculated at checkout.
Specifications:
Set includes: 2 x Doors + 4 x Drawer Fronts
Fits: IKEA PAX frame 100cm wide x 236cm high
Thickness: 18mm
Profile: Shaker
Finish: Painted (2Pac Poly)
Description:
Customea Exclusive. Turn a standard IKEA PAX frame into a built-in style wardrobe with two full doors above and four drawers below — a layout IKEA doesn't offer.
The painted PAX Doors are made from Moisture Resistant (MR) MDF and are sprayed several times for a smooth finish using 2Pac Polyurethane paint.
Doors and Panels are painted on the front and all edges, the backs are unpainted white melamine.
Our Standard Paint finish is Matt (10%). If you prefer a different finish (Satin, Semi-Gloss, Gloss), you can leave a note at check out.
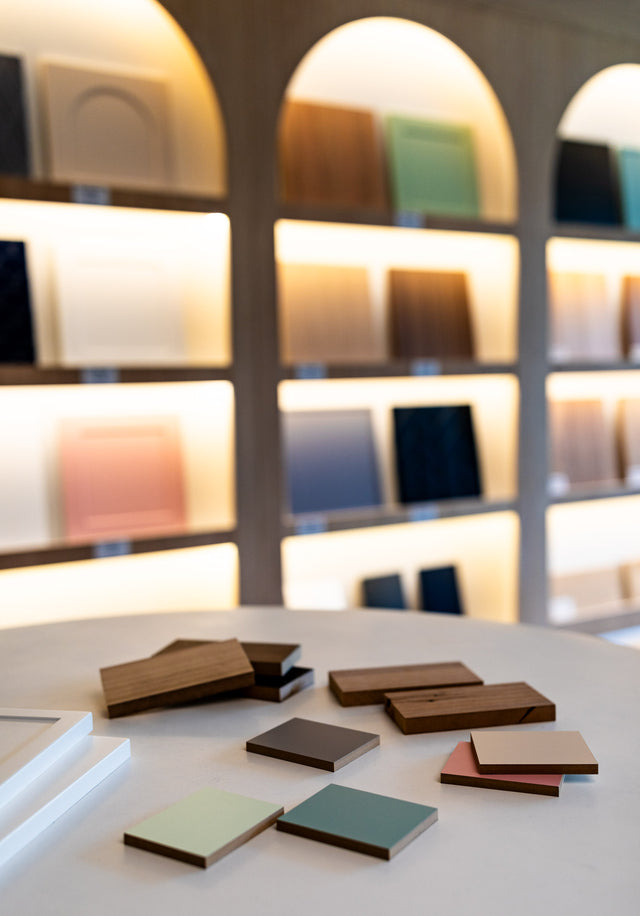
Available in any of our Standard Colours or the Custom Colour of your choice. Add your Colour Code as required.
Doors come with hinge holes pre-drilled. Drawer fronts fix onto the IKEA KOMPLEMENT drawer fronts.
Not included — buy from IKEA: 1 x PAX frame 100cm wide x 236cm high, 4 x KOMPLEMENT drawers with front (100cm), PAX door hinges.
You will also need 20mm screws (6 per drawer front) and 2 clamps to fit the drawer fronts (not included). Handles not included.
Installation:
1. Assemble the PAX frame and fit the 4 KOMPLEMENT drawers with their IKEA fronts.
2. Hang the two doors first using the IKEA hinges and adjust them so they sit level.
3. Work from top to bottom. Clamp the top drawer front to the IKEA drawer leaving a 3mm gap below the doors, pre-drill the IKEA front from inside, then fix it through the IKEA front with 20mm screws (6 per front: corners plus centre top and bottom). On routed profiles keep the screws on the flat border and do not over-tighten.
4. Clamp the second drawer front leaving a 3mm gap to the drawer front above, pre-drill and screw, then repeat for the remaining two. The deepest drawer front goes at the bottom.
5. Check all gaps are even and adjust the doors if needed.
Download the step-by-step installation guide (PDF)