







← Back to IKEA PAX | Unpainted (Raw) | Coastal
colour:none
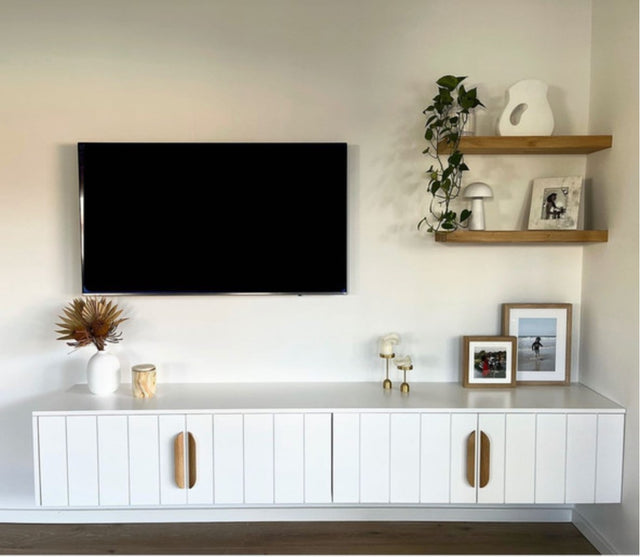
Coastal PAX drawer fronts, Unpainted Raw, front view
Coastal PAX drawer fronts, Unpainted Raw, angled view showing board edge
colour:none
Coastal PAX drawer fronts, Unpainted Raw, front view
Coastal PAX drawer fronts, Unpainted Raw, angled view showing board edge
colour:none
Coastal PAX drawer fronts, Unpainted Raw, front view
Coastal PAX drawer fronts, Unpainted Raw, angled view showing board edge

100cm - 4 Drawer Fronts - Coastal - Unpainted (Raw) - PAX - (To Fit 100cm PAX Frame)

Regular price
$264.00 AUD
Sale price
$264.00 AUD
Regular price
Tax included. Shipping calculated at checkout.

Coastal Unpainted (Raw)

Specifications

Set includes4 x Drawer Fronts
FitsIKEA PAX frame 100cm wide (either 236cm or 201cm high)
Thickness18mm
ProfileCoastal
FinishUnpainted (Raw)

Product details

  • Customea Exclusive. Four drawer fronts for a standard IKEA PAX frame, with no doors, so you can leave the space above the drawers open or shelved.
  • The fronts are made from Moisture Resistant (MR) MDF and are supplied raw, ready for you to paint.
  • Sanding and priming are needed before painting. The fronts are not sealed.
  • Drawer fronts fix onto the IKEA KOMPLEMENT drawer fronts.
  • Not included, buy from IKEA: 1 x PAX frame 100cm wide, 4 x KOMPLEMENT drawers with front (100cm).
  • You will also need 20mm screws (6 per drawer front) and 2 clamps to fit the drawer fronts (not included). Handles not included.
  • Installation:

  • 1. Assemble the PAX frame and fit the 4 KOMPLEMENT drawers with their IKEA fronts.
  • 2. Work from top to bottom. Clamp the top drawer front to the IKEA drawer, pre-drill the IKEA front from inside, then fix it through the IKEA front with 20mm screws (6 per front: corners plus centre top and bottom). On routed profiles keep the screws on the flat border and do not over-tighten.
  • 3. Clamp the next drawer front leaving a 3mm gap to the front above, pre-drill and screw, then repeat for the remaining two. The deepest drawer front goes at the bottom.
  • 4. Check all gaps are even.