



← Back to IKEA PAX

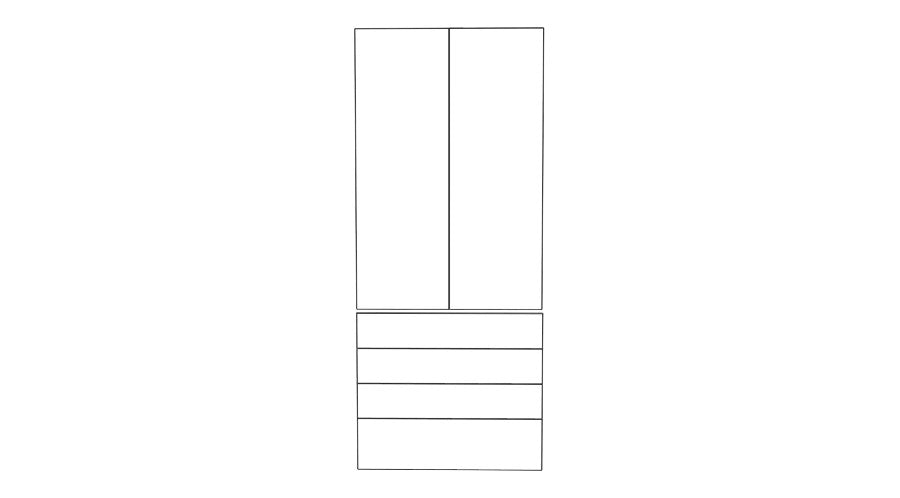
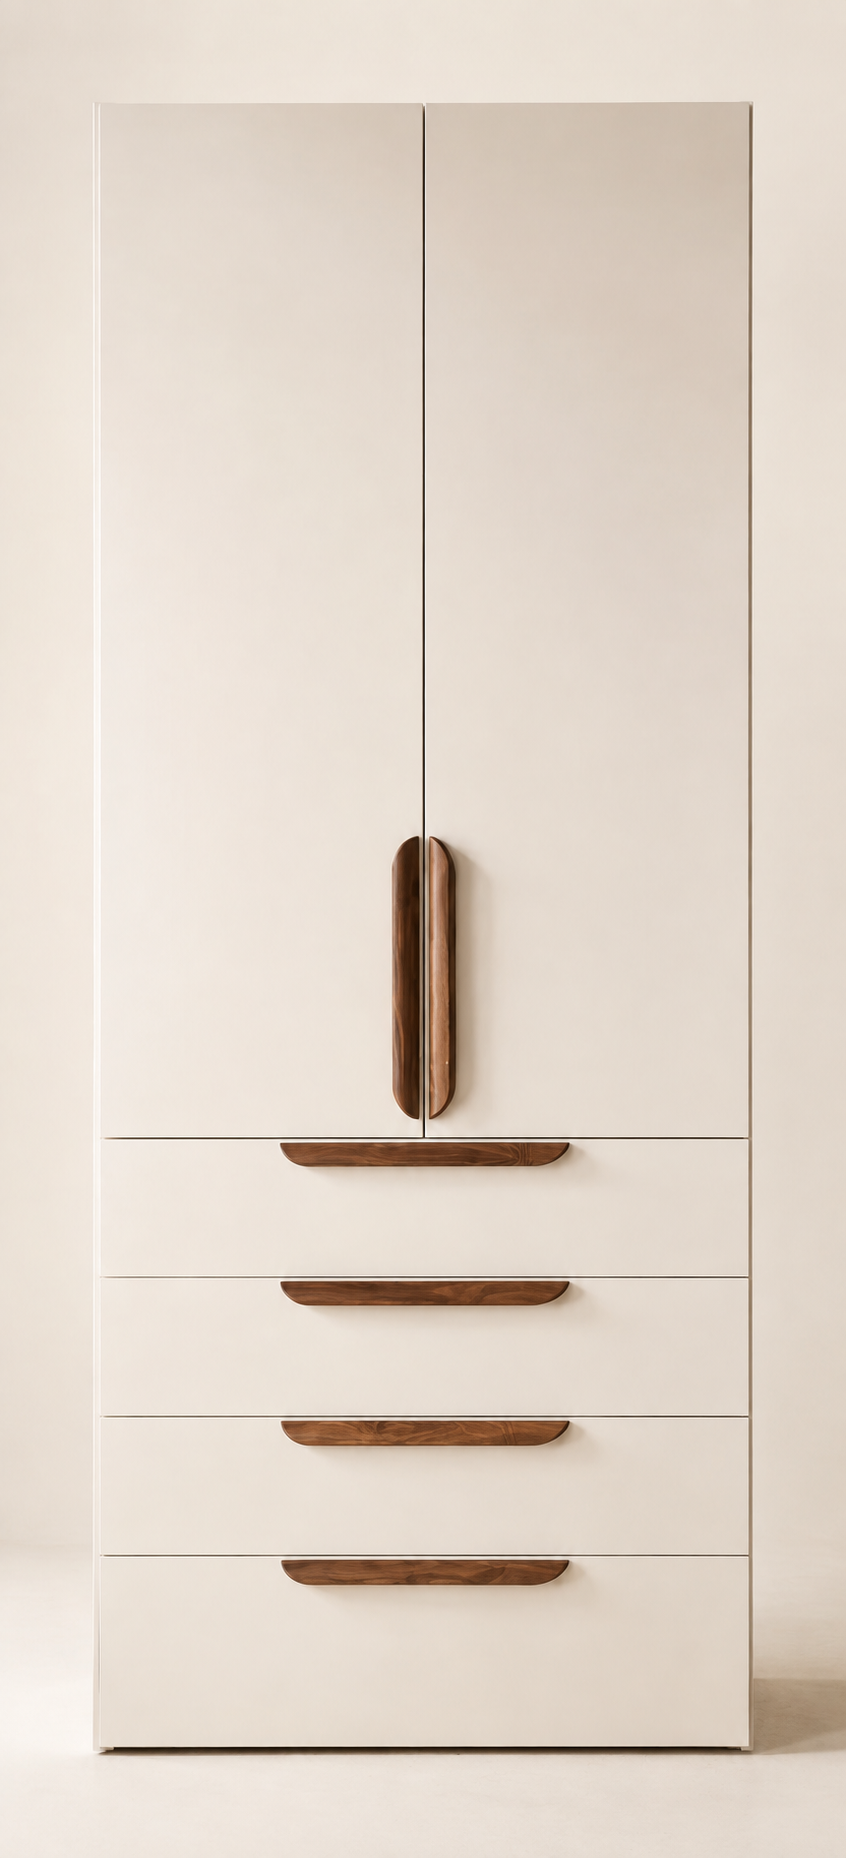
100x236 - 2 Doors + 4 Drawer Fronts - Polytec - PAX
1. Profile
2. Finish
3. Colour
From $1,110.00 AUD
Tax included.
Shipping calculated at checkout.
Ways to plan your order
Pick the one that fits your project.
Outline Polytec Smooth
Specifications
| Set includes | 2 x Doors + 4 x Drawer Fronts |
|---|---|
| Fits | IKEA PAX frame 100cm wide x 236cm high |
| Profile | Outline, Linear, Wide V-Groove, Slim V-Groove, Classic Shaker, Fine Shaker, Micro Shaker, Bevel Frame, Reeded, Fine Reeded, Scallop, Plain |
| Finish | Polytec Smooth, Polytec Woodmatt, Polytec Matt |
Product details
Polytec Thermolaminated Doors & Panels
Profile Thickness:
- 18mm thick: Plain, Classic Shaker, Fine Shaker, Micro Shaker, Outline, Wide V-Groove, Slim V-Groove, Linear
- 21mm thick: Bevel Frame, Reeded, Fine Reeded, Scallop
Smooth & Matt colours
- Doors & Drawers: one side and the edges are in the Polytec thermofoil colour of your choosing, the back side is white in a standard melamine finish (except black & cinder = black melamine).
- All standard panels have a 100mm return on the height, in the matching front colour.
- Double sided panels have matching thermofoil front & back.
Woodmatt
- Doors & Drawers: one side and the edges are in the thermofoil colour of your choosing, the back side is in a matching grain colour in a standard melamine finish.
- All standard panels have a 100mm return on the height, in the matching front colour.
- Double sided panels have matching thermofoil front & back.
- Plinths are not edged.
- Pull Out doors are supplied undrilled.
- Doors & Drawers come with the necessary hinge holes pre-drilled. Hinges are not included, these need to be purchased from IKEA or Bunnings.
Installation:
Other products in this range
-
100x200 - 2 Doors + 4 Drawer Fronts - Polytec - PAX From $950.00 AUD

-
75x200 - 2 Doors + 4 Drawer Fronts - Polytec - PAX From $830.00 AUD

-
50x200 - 1 Door + 4 Drawer Fronts - Left Hung - Polytec - PAX From $475.00 AUD

-
50x200 - 1 Door + 4 Drawer Fronts - Right Hung - Polytec - PAX From $475.00 AUD

-
50x236 - 1 Door + 4 Drawer Fronts - Left Hung - Polytec - PAX From $555.00 AUD


